Docker: ports 101
31 Dec 2023
This is a brief and practical primer on how networking and ports work in Docker.
I've been meaning to practise my Docker-fu more deliberately for a while now.
As Dockerfiles are set up once and modified infrequently, I've had few chances to set one up from scratch in a production codebase.
That said, my wife wants to learn how to do some backend programming (NestJS) and I'll have to Dockerize her frontend + backend at some point, so let's do (some of) that!
You can find this information elsewhere -- this is just an aspect of Docker that tripped me up that I'm documenting for my own reference (:
(Why am I writing this at the end of the year? Because I need to take a break from taking a break!)
Setup
Suppose you're me and you've set up a new repo with a backend directory that has been initialised with nestjs new backend. (See also: NestJS First Steps.)
A standard Dockerization of this would be:
# syntax=docker/dockerfile:1

FROM node:18-alpine
WORKDIR /app
COPY package*.json ./
RUN npm install
COPY . .
RUN npm run build
CMD ["npm", "run", "start"]
EXPOSE 8080
You would then build the Docker image with:
docker build -t nestjs-backend .
and run it in a container with:
docker run -dp localhost:8080:8080 nestjs-backend
Within the backend, under main.ts, we can set app.listen(8080), so that the app is listening on port 8080.
async function bootstrap() {
  const app = await NestFactory.create(AppModule);
  await app.listen(8080);
}
bootstrap();
What exactly does port 8080, which comes up 4 times in the above code snippets, actually mean in each context?
EXPOSE 8080
Surprisingly enough, this instruction actually does nothing. According to the Docker docs:
The
EXPOSEinstruction doesn't actually publish the port. It functions as a type of documentation between the person who builds the image and the person who runs the container, about which ports are intended to be published. To publish the port when running the container, use the-pflag on docker run to publish and map one or more ports, or the-Pflag to publish all exposed ports and map them to high-order ports.
In other words, we can delete this line from the Dockerfile and the image / container created still works for our purposes.
That being said, this explanation clues us into what the docker run command is actually doing.
docker run -dp HOST:CONTAINER [image-name]
A container is a sandboxed process running on a host machine that is isolated from all other processes running on that host machine.
When we run docker run -p, where -p is short for --publish, this creates a port mapping between the host and the container.
In our example, HOST is the address on the host, i.e. 127.0.0.1:8080, and CONTAINER is the port on the container, i.e. 8080.
This publishes the container's port 8080 to our localhost:8080, so that we are able to access the application from the host.
This is why when accessing localhost:8080 through the browser, we see the expected Hello World API response.
app.listen(8080)
This publishing of the port means that requests are made from the host and responses are returned from the server. The server itself has to know what port it should listen to requests from, hence we specify that the app listen to port 8080.
Changing the ports around
With the above concepts in mind then, we can make things slightly less confusing by keeping almost everything the same but tweaking the docker run command to:
docker run -dp localhost:3001:8080 nestjs-backend
Pull up Insomnia to test the API call...
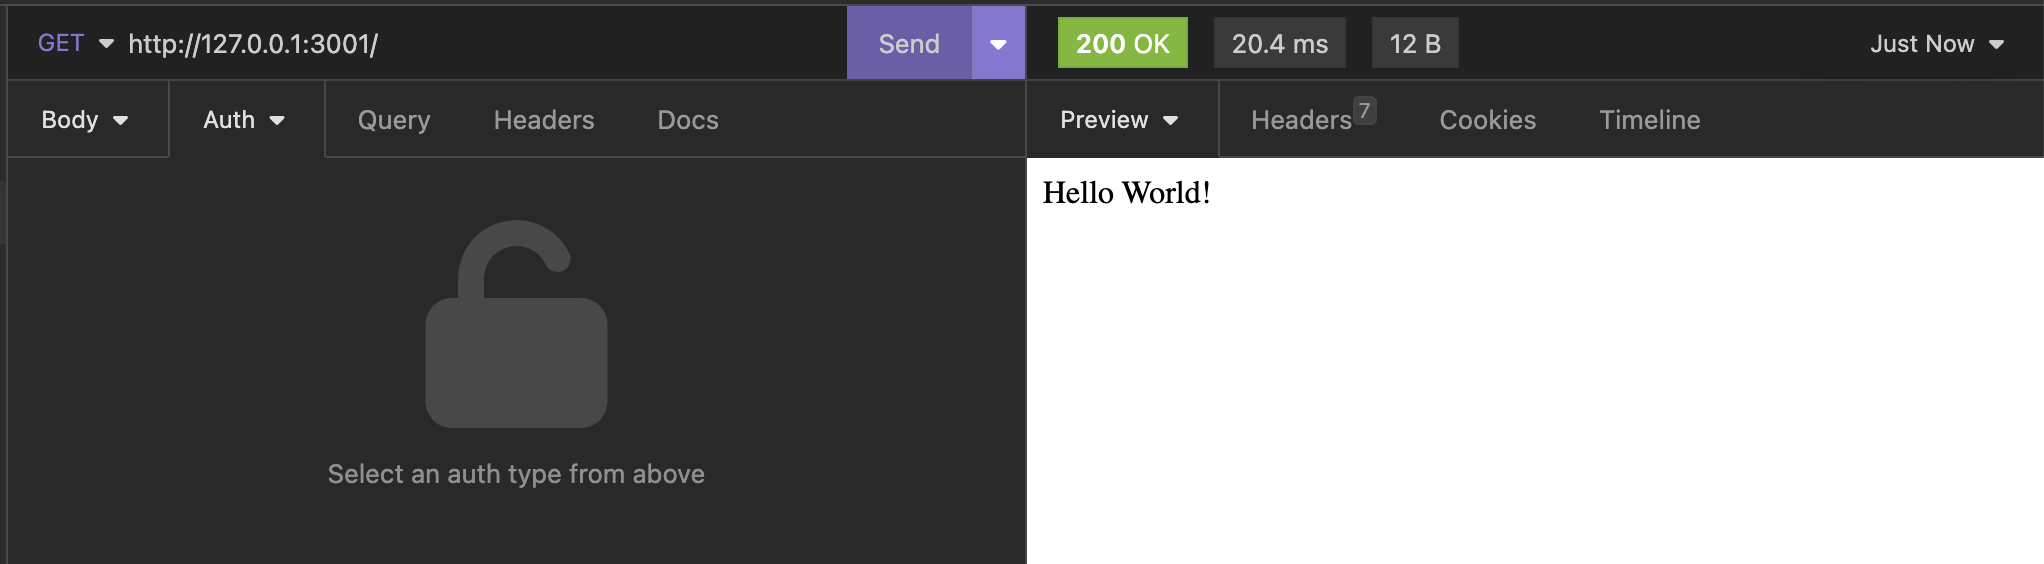
and it works as expected!